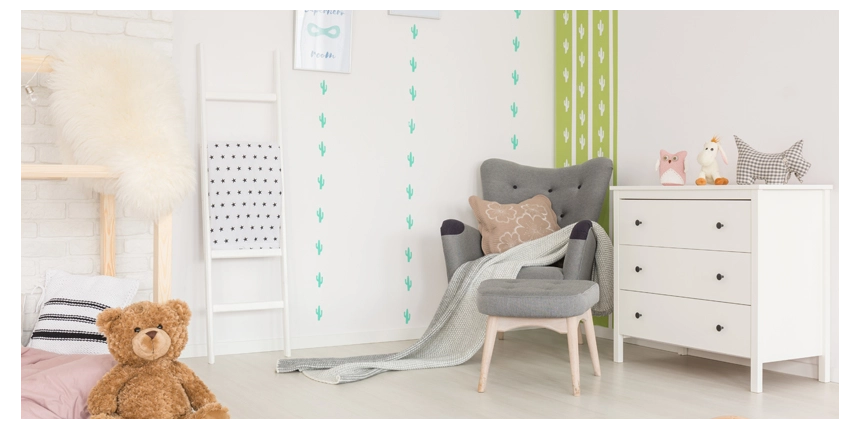
Cute Stencils for Your New Nursery

Second only to finding just the right furniture pieces for your nursery, such as a crib, changing table, or rocking chair, your choice of wall color will make the biggest impact on the overall feel of the room. For those who don't yet know the gender of the baby there are a multitude of gender-neutral color options available—but one of the easiest and most effective ways to incorporate color into your overall scheme is with the placement of nursery stencils on one or more walls. Take some inspiration from these tips for the choice and application of wall stencils for nursery rooms, or other areas of your home.
Step One: Choose Your Stencils
Finding the perfect nursery stencils was once a herculean task, but thanks to online options you can browse for the look you desire from the comfort of your own home. Before you begin your search, determine how much wall space you wish to cover to ensure the design remains in scale and doesn't overpower the room.
There are any number of gender-neutral stencils to choose from such as building blocks, animals, trees, alphabets, inspirational quotes, and more, and for those wanting to make a bigger impact, a wall mural stencil kit can help to bring one or more walls in the nursery to life. Themes can include farm, beach, jungle, garden, and more, or you can pick and choose the elements from your kit to create a design as unique as your child.
If after scouring the internet, you are unable to find wall stencils for nursery applications that appeal to you, it is possible to make your own using sturdy plastic sheeting, and cutting out the pattern with a precision cutting tool. If your artistic flair is limited to stick figures and happy faces, you can print the pattern you want to scale, and trace it onto your plastic sheeting before cutting.
Step Two: Preparation

Prepare your walls prior to applying your stencils for a finished product that looks great and will last for years to come. Choose your gender-neutral wall color and paint the room, or have the professionals at Five Star Painting do it for you. If the walls were painted previously, wipe down or clean the area to be stenciled, and clear any furniture or other items away from the area before laying a drop cloth down to protect the floor. Use a level, chalk and/or pencil, and tape measure to map out the placement of your stencil(s), and gather the necessary materials for application including:
- Painter's tape or spray adhesive
- Paint
- Paintbrushes in a variety of sizes or foam rollers or brushes
- Paper towels
- Sturdy paper plate(s)
Step Three: Application
Follow these steps for a seamless application:
- Use your spray adhesive or tape to adhere the stencil to the wall, lining it up and ensuring it is level.
- Pour a very small amount of paint onto a paper plate, and apply to your brush or roller.
- Wipe off the excess on to a paper towel to leave a nearly dry applicator.
- Roll or brush the paint from the edge of the stencil inwards, towards the opening.
- Allow the first coat to dry and reapply until you get the desired coverage.
- Carefully remove the stencil and allow to dry.
Although Five Star Painting doesn't offer wall stencils as part of our services, as house painting experts we are happy to provide our customers with the information needed to complete this, and other kid-friendly projects. Call us at 888-261-3633, or contact us online to schedule a free estimate today!
 Click to call


